

5 Tips for Owning Your Expense Report, Instead of Letting It Own You
When you finish a trip, or get to the end of the month, and realize you have to submit an expense report, it feels like a daunting task. You’re dealing with piles of receipts, numerous transactions, and can’t particularly recall every business expense you incurred. The only thing that is keeping you going is the prospect of losing out on your reimbursement—your own money.
We’re sharing five tips for getting on top of your expense reports, so you can minimize the time and work you are putting in to get those reimbursements.
Snap as you go
Scrap the big task. Instead of waiting until the end of the month or the end of a trip to create your expense report, snap photos of your receipts as you go.
TravelBank has a built in camera that makes this easy. All you have to do is snap the photo and enter the total transaction amount, and TravelBank scans the receipt to fill in the details for you. Tracking expenses as you go feels like less work, the expenses are time stamped correctly, and at the end of the month, your expense report is ready for you to review and submit.
Know how to categorize expenses
Meals should be categorized as meals, right? Wrong. You have meals, and then you have client entertainment. You have supplies, and then you have marketing and advertising spend. Ask yourself, what is the purpose of this purchase? If the primary purpose is to feed you, then pick meals. If it’s to stock the office with supplies, select supplies.
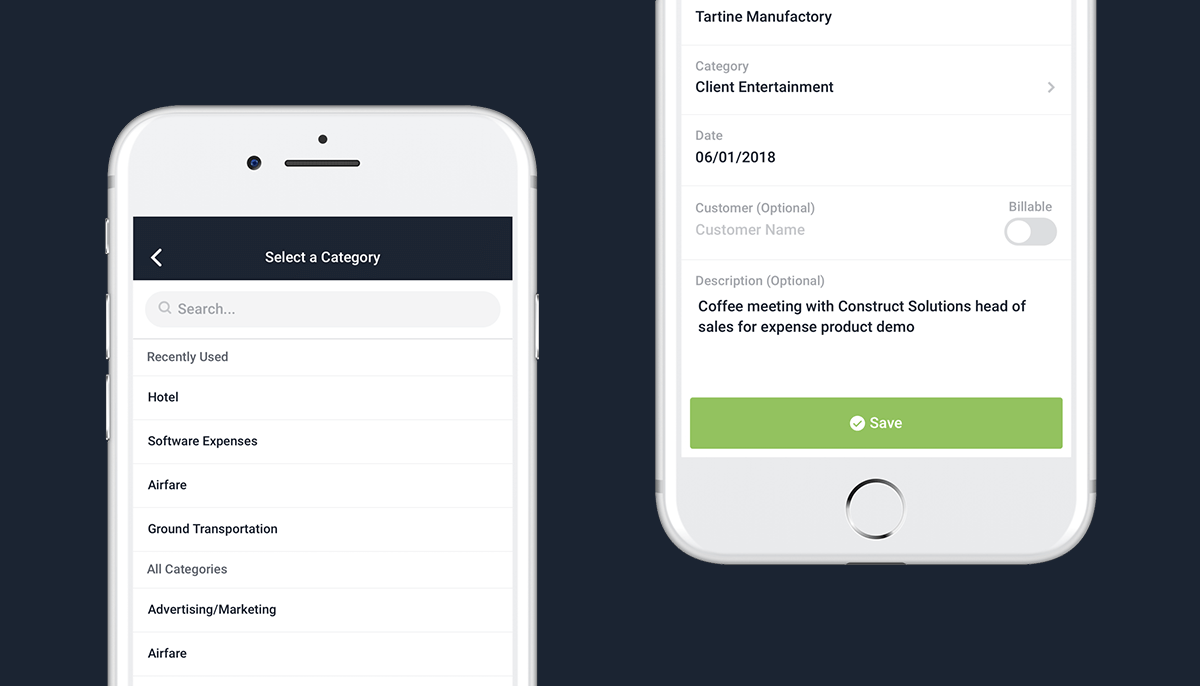
But if the primary purpose of an expense is to meet with a client and it happens to be over a meal, pick client entertainment. If it’s props for your next photoshoot that is intended to create content for your next ad campaign, select advertising. You could even be taking social media influencers out for an instagrammable lunch that will turn into blog and social content. That expense gets categorized as marketing spend.
Stop collecting receipts
Once you start snapping photos of your business expenses as you go, the digital copies have you covered. Your wallet or back pocket doesn’t need to become cluttered with paper receipts.

If you ever need to reference what you spent, you can pull up your general expense list or an active trip budget to recall what you spent, where, when, and why.
Use the description to jot down meaningful details
Each expense gets labeled with a number of details: total, merchant, category, date, and description. While the others are fairly black and white, the description field is optional and leaves some room for customization.
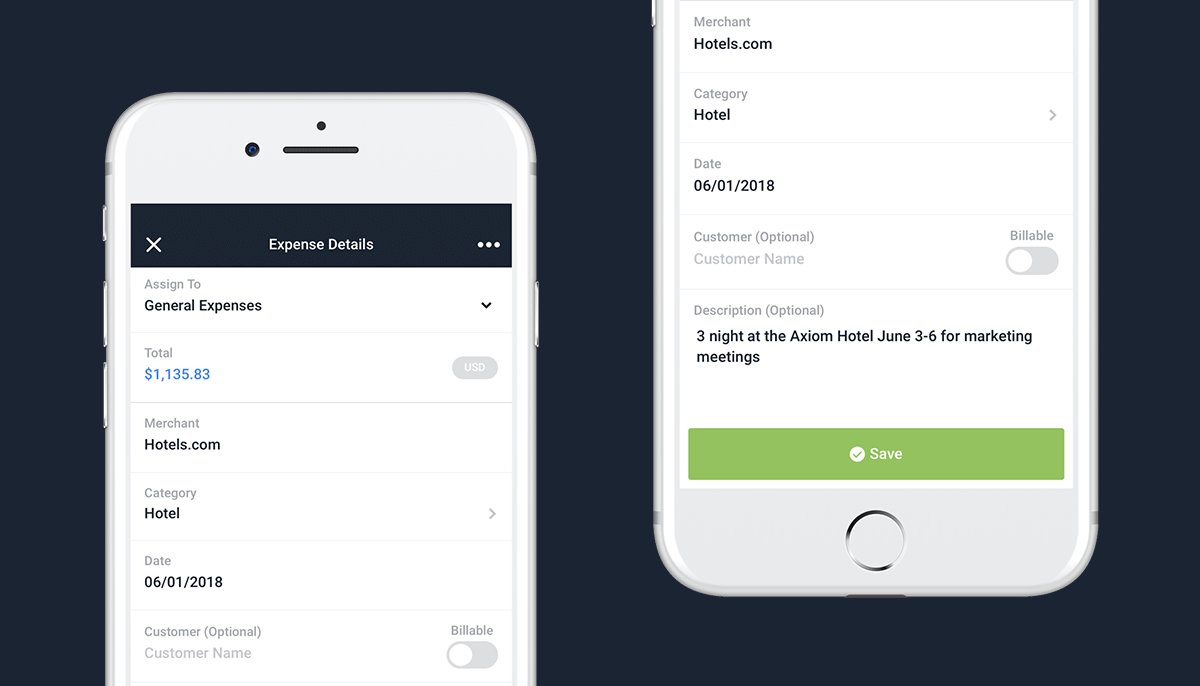
The best thing you can do to make your life easier, is to jot down a few quick but meaningful details in the description field. The details you wish you could recall when you look at your transactions a few weeks later and scratch your head asking yourself what it was for.
Cross reference your credit card transactions
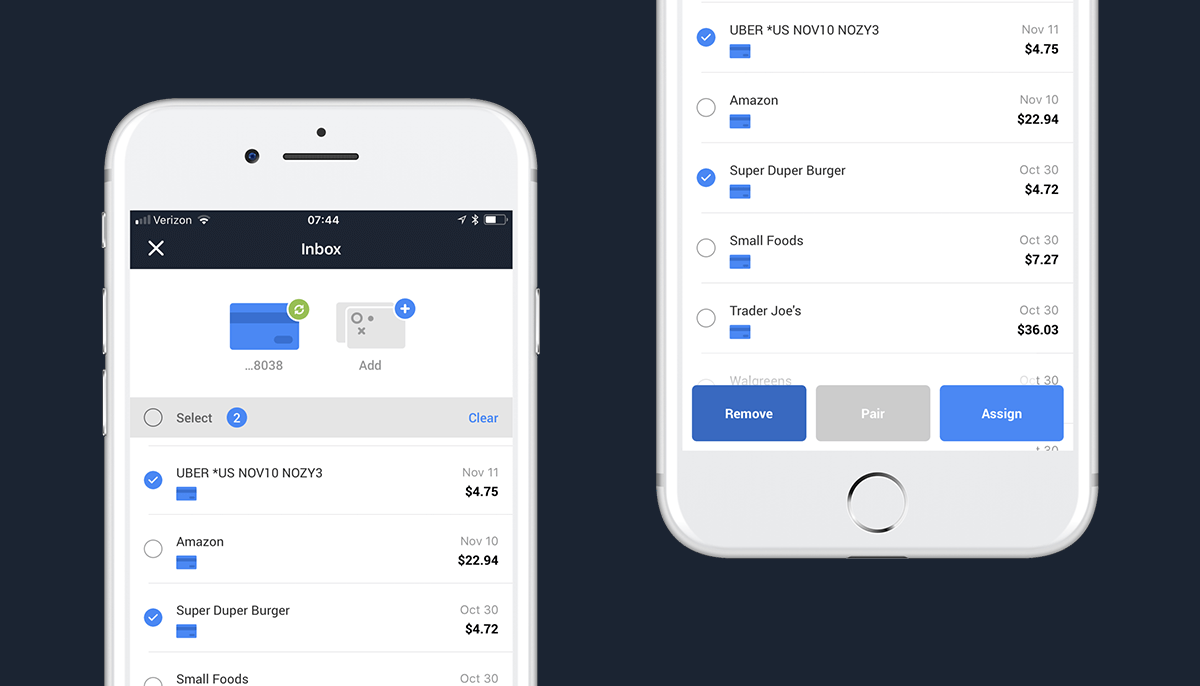
You don’t want to lose money in the reimbursement process, so when you’re ready to submit your expense report, do one final cross reference against your credit card transactions to make sure you didn’t miss any expenses. Fortunately, TraveBank has a credit card sync feature built right into the app to make this easy. You can review all of your transactions, select business expenses, and assign them to your general expense list or active trip budget with a few taps.
If you find an expense you forgot to track, and realize the receipt is long gone, a good trick is to take a screenshot of your statement from your bank’s mobile app, and use the markup feature to black out the other transaction amounts and any personal identifying information. And just like that, you have proof of purchase.